Certain features used in this web site isn't supported by your browser.
Please use another browser, such as Chrome.
Part 3: Adjusting the colours on Ms. Paige's picture
So far, so good. I'm starting to get more comfortable with Photoshop. Ms. Paige's picture is now cropped, with a good resolution for printing. However, I don't really like the colours. Her skin is way too pale and her hair actually has a red tone that the photo doesn't render.
I know that it's possible to make colour adjustments in Photoshop. I noticed a few things in the Image menu regarding hue, saturation, brightness, contrast, colour balance and other adjustments... So many options, I'm lost.
I think I'll go ahead and watch a couple of videos below and practise along. It will surely help.
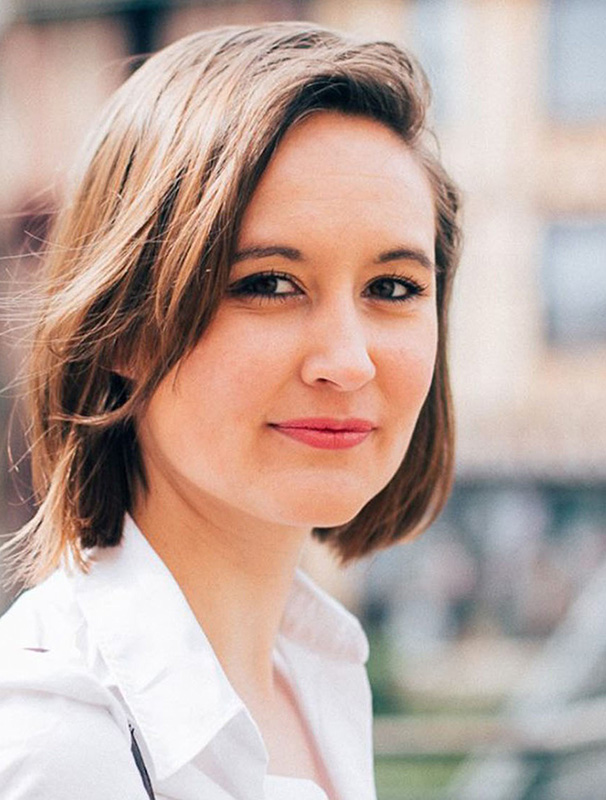
I would like the image to look less washed out, especially her skin which is too pale.
Ms. Paige's hair is actually redder than it looks in the picture. I need to correct this.
And finally, her eyes should be blue.
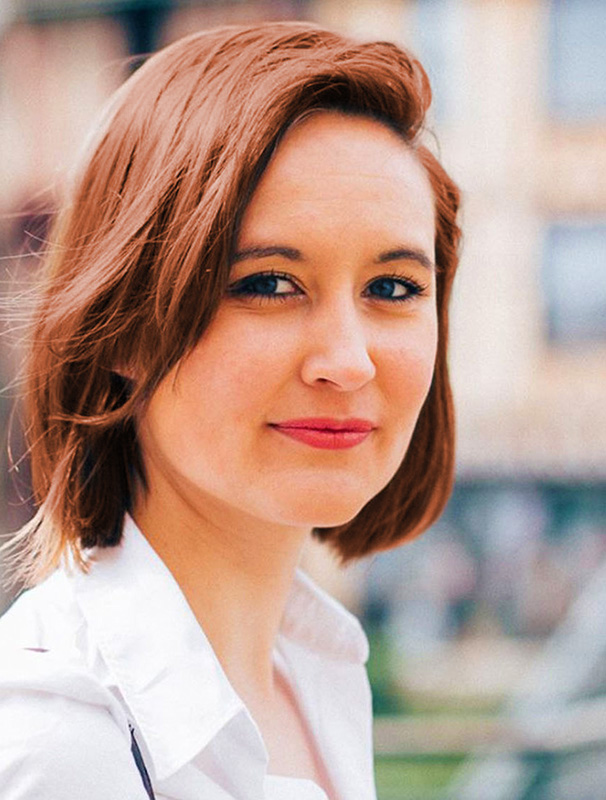
Ultimately, it should look like this:
BeforeAfter
After watching the videos and practising along, do I know what to do in order to reproduce the result above?
Hint: Vibrance needs to be adjusted until the skin appears pinker. For the eyes and the hair, we need to use adjustment layers and masks for the hue and saturation (watch the video about adjustment layers again if you need to).
Hint: Vibrance needs to be adjusted until the skin appears pinker. For the eyes and the hair, we need to use adjustment layers and masks for the hue and saturation (watch the video about adjustment layers again if you need to).
My answer:
Here is the suggested operation. I'll compare it to what I wrote above.
thumb_up
For more flexibility and in order to be able to make changes later, I will create a "Vibrance" adjustment mask and set the vibrance to +75.
I will now follow these instructions to adjust the vibrance of the picture. I'll click on the button below when I'm done.
Now, I will modify the hair colour to make it more red, as it is on the picture above.
How exactly am I going to do that in Photoshop?
My answer:
Here are the suggested steps. Does it look like what I wrote?
thumb_up
First, I'll create an adjustment layer for the "hue/saturation". I will check the "colorize" box, set the hue to 15, the saturation to 43 and the brightness to -17. In the mask properties panel, I will invert the black and the white. Working with the paintbrush, I will paint all the hair area in white.
So, let's do this. I'll click on the button below when it's done.